
A Few Tips on Product Photography
Product photography might just be the unsung hero of photography. It doesn’t come with the glamour of fashion photography or with the glory of a war or photojournalism assignment. It doesn’t quite appear in National Geographic or Sports Illustrator. And yet, product photography has its charm, and also purpose. And, let’s be honest, it cannot only be interesting and intriguing, but it could provide a pretty nice income, too.
So, is it worth it, as a photographer, to consider making a living photographing product? Absolutely!

Truth is that we look at product photographs every single day—toys, shoes, jewelry, home décor, small appliances, electronics, and the list goes on. A product photographer can shoot for catalogs, instruction manuals, for a collector of sports memorabilia or a jewelry shop, or, yes, eBay…the list goes on.
No matter what kind of product you have to photograph, your job, as a photographer, is to make it interesting and intriguing enough to the prospective buyer. And that’s not an easy thing.
First of all, try to connect with the subject you are about to photograph. It might be something related to something that you feel strongly about. For example, it might be a leash or dog toy, and you might be a dog person. And try to use that connection to give your photograph life, and a soul.
Treat the product you have to photograph as your subject…because it is. And, not like people, it’s not in a rush to go anywhere. That being said, make sure that you finish and submit your assignment before its due.
Before you start, it is important to talk to the client to better understand the goal of the assignment. Make sure you understand your client’s needs from the shoot. It would be a good idea for the client to be present at the shoot, if possible.
Also before you start shooting, prepare for the shoot. Visualize what you are going to do, and how best to tell the story in an attractive and interesting way. You can use scaling when shooting very small products, and include objects that add to the story. For example, to emphasize the small size of an electronic product, place the product next to a circuit board or a pencil. To emphasize the size of a piece of jewelry, place the product on a model and zoom in on the product.

Have a shot list, to ensure that you leave out anything. It helps you set up the shoot. It’s best to get it right in camera because then, post-production work is a breeze.
It’s important to remember that, especially in product photography, it’s key to get not only the lighting right but also to get the color of your subject right. When buyers browse through a catalog and want to buy a certain color of shoes, they expect to get the shoes in that exact color, as shown on the pages of that catalog. Therefore, color calibration of your monitor is vital. There are different devices that you can use for color calibration. Also, as a side note, it is important that your monitor is always calibrated, not only for product photography but for any kind of photography. You can install the color calibration software, and calibrate/re-calibrate the monitor once a month.
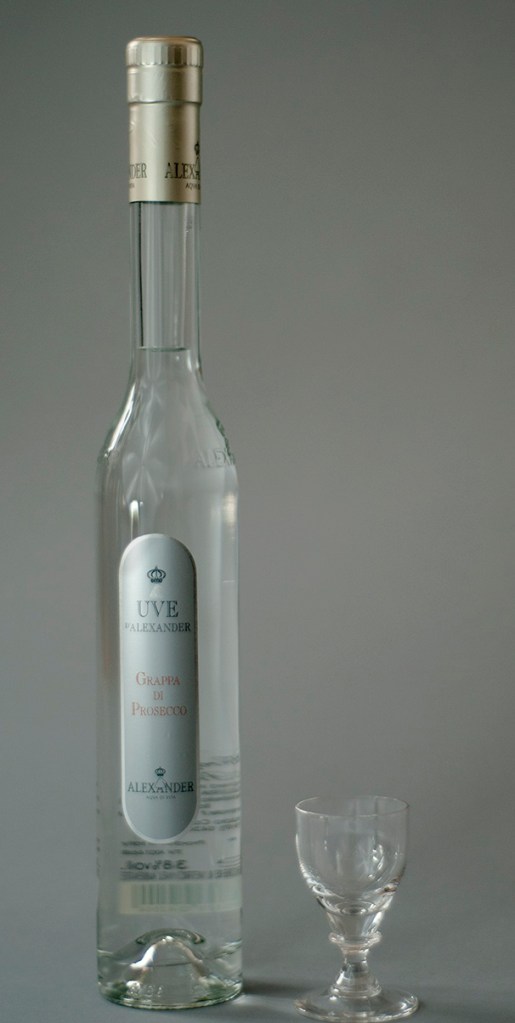
Use seamless backdrops. White backdrops are most common, but other colors are used, too. Make sure that everything that you include in your image helps enhance the subject. If you have to shoot an expensive bottle of whiskey, for example, you might want to use a darker backdrop, or maybe use a glass as a prop, to enhance the mood.
Use a tripod. You don’t need your images shaken, or stirred. You need them sharp.
Sometimes you might have to set the scene, place props (as mentioned above), and include lines to guide the eye to the subject. And sometimes you might want to place the subject in the background, with the props and leading lines guiding the eye to the subject. It all depends on how you want to tell the story, and what is the best way of telling that story.
While some might not see it necessary, using a light meter could make your life much easier. Use a handheld light meter, especially when working with strobes, to meter your lights.
Lighting is important, of course. You can work with continuous lights, to instantly see what you happens, or with strobes. You might have to use one, two, three, or even four lights. Again, it depends on what subject you have to photograph, and how you want to photograph it, how you want to best tell the story. It is important to build your lighting up as you go, one light at a time. You might have two light positions at 45-degree angles from the subject, and maybe one in the center, facing the subject. You might need to place a light under or behind the subject. Turn them on, one at a time. After turning on each of the lights, step back and look at the scene—at the subject, light, and shadows.
Shadows are important. They give depth, that third dimension to the otherwise two-dimensional photographs. In product photography, the client might want a high-key photograph (completely white background, no shadows) or a somewhat low-key image, where shadows play an important role in enhancing the mood evoked in the image.
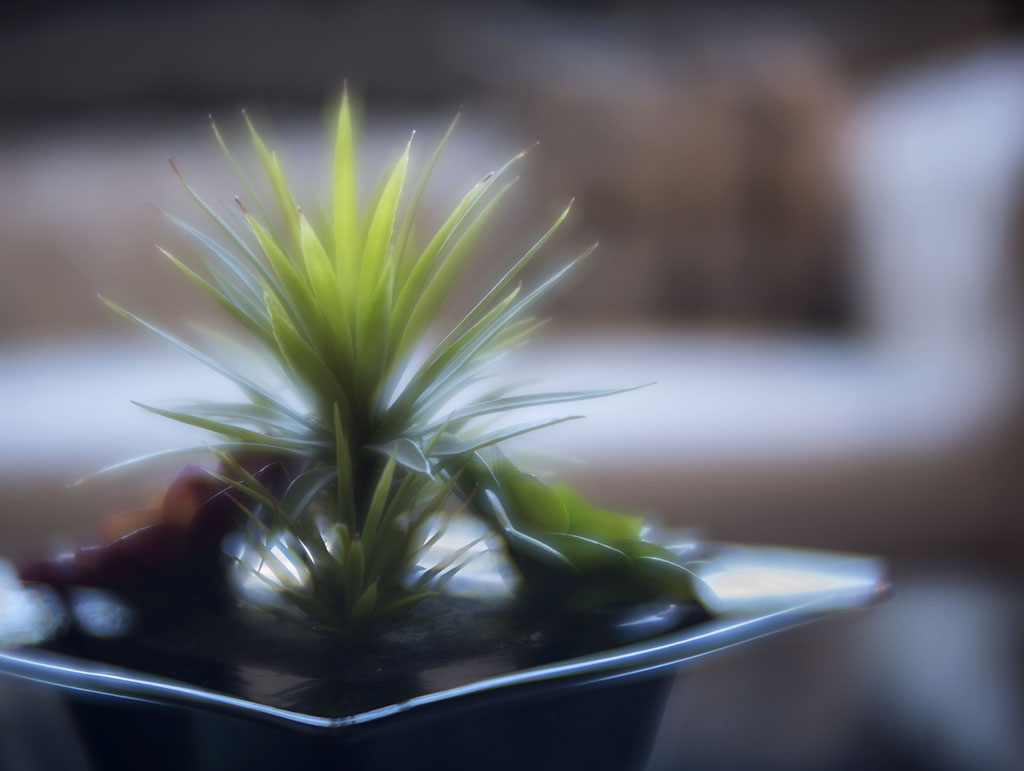
Sometimes, it’s necessary to evoke a certain mood that, in turn, it’s better achieved when photographing the product as part of a set rather than against a seamless backdrop.

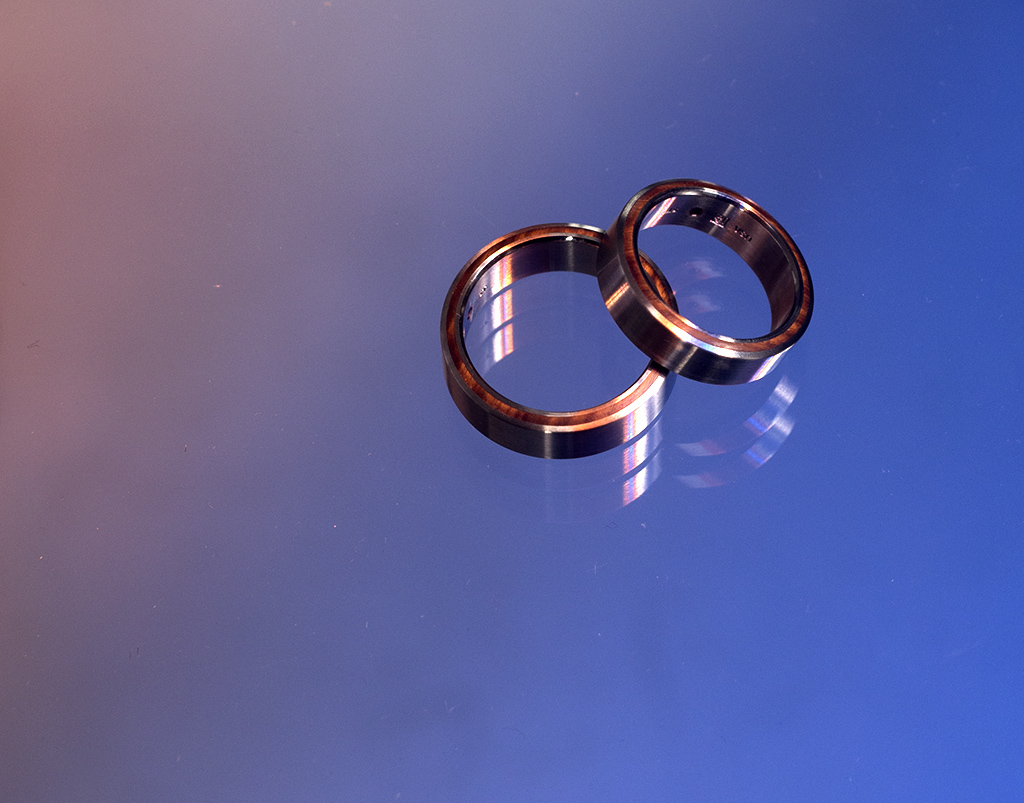
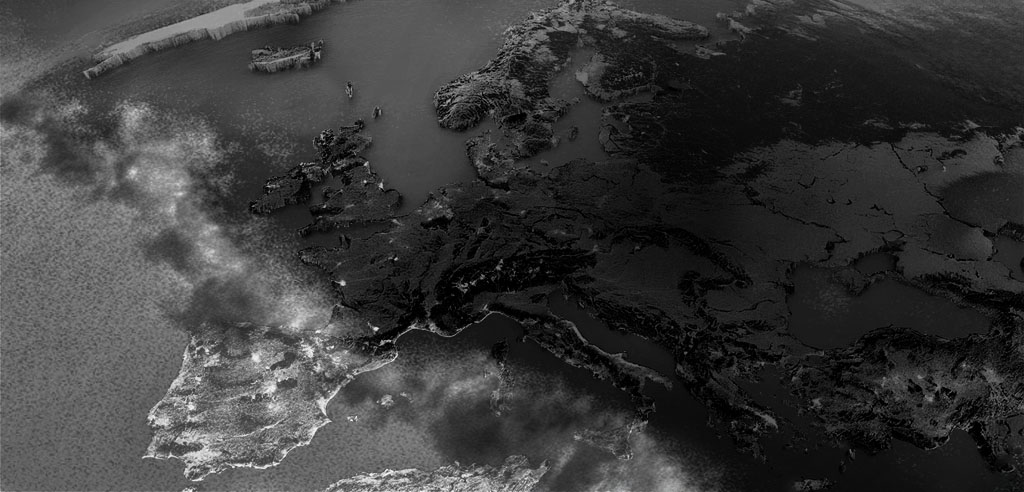
Other times you might have to evoke a slightly darker mood:

or

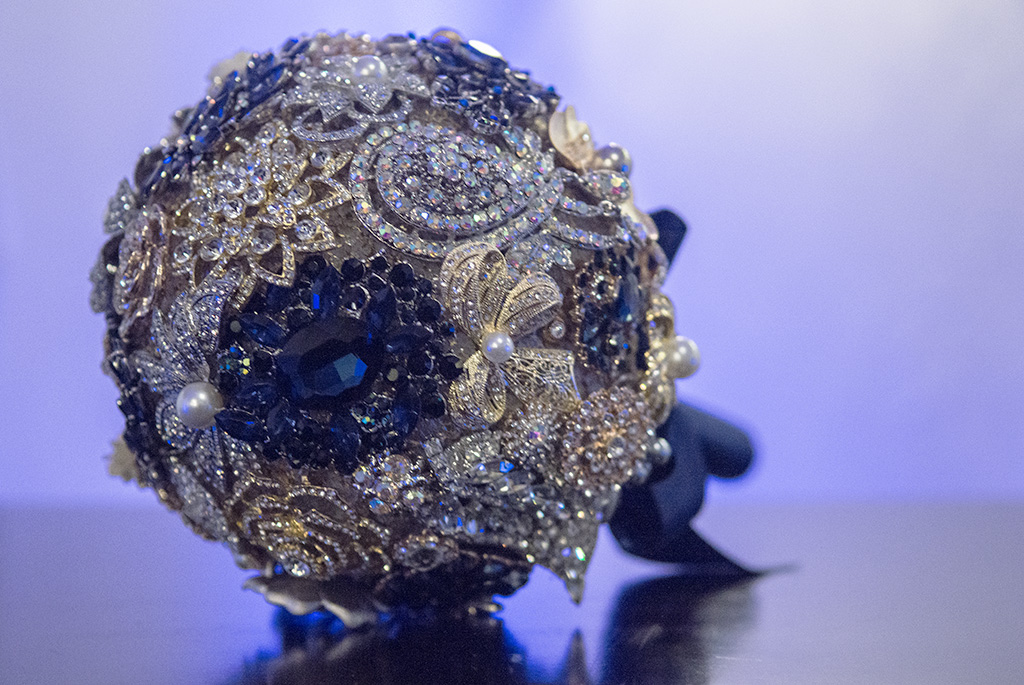
Or create a completely different mood, using various seamless backdrops or shooting on location.

Shoot in manual mode, especially when shooting with strobes. And shoot in RAW, rather than jpeg.
Put on your artistic hat, and be creative when you shoot. Always, and not only in product photography, get the shots that you have to get, and then shoot a few more for yourself—think outside the box, get creative, don’t be afraid to cross boundaries. Also, in product photography, try to shoot for composites. Sometimes your product image could be used in composites.
Use selective focus, when necessary, to emphasize the subject.
Shoot from different angles.
Zoom in, and also out.
Below are two examples of jewelry photography–jewelry as product photography. I played with the background to create a certain mood.
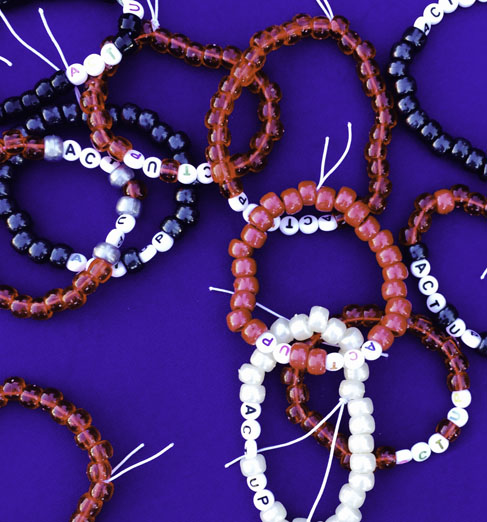
And here are a few examples of jewelry photography created for a cause:

As a side note, food photography is also product photography. When photographing food, be creative when it comes to props, lighting, composition, etc. If possible, try to connect with the subject.
As I mentioned at the beginning of this article, your primary goal is to make your client happy. And that is to understand and…get what the client wants, and delivers. It is also important for you to understand what and how and where the images will be used. Are they going to be used online only? In print catalogs? What’s the commercial value of the shoot to your client? Finding the answers to these questions, and also researching the competition, will help you best value your work.
As always, thanks for stopping by.


Leave a comment