
A few thoughts on panoramic images
For those interested in photography, October is known for the PHOTOPLUS Expo taking place at the Javits Center in New York City, during the last weekend of the month. This year, because of Covid, the event will be a virtual one. (check out the website for updates)
When I think of the photo expo, I think of the trade show, itself, and of the photography mentors presenting their work and teaching short workshops. I also associate the photo expo with walls of beautiful prints, some of which are giant panoramas. And recently that got me thinking about panoramic photography.
Panoramas or panos offer a special way of looking at the world.
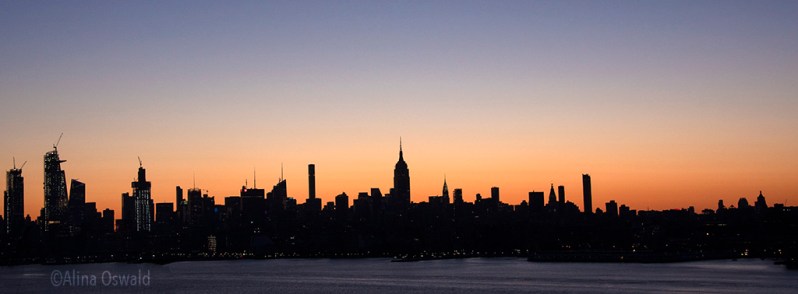
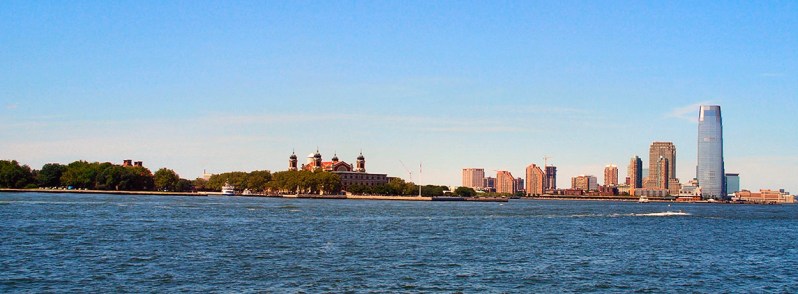
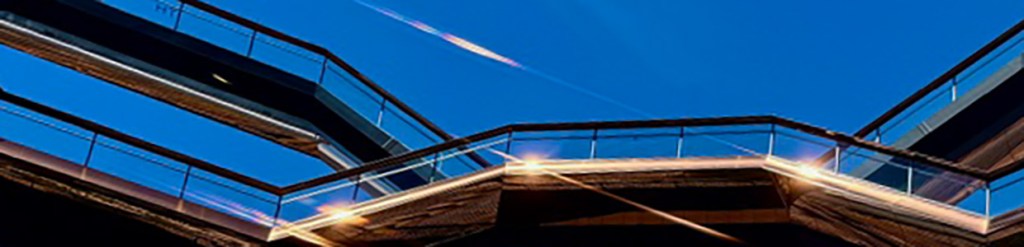
Panoramas are often associated with (ultra) wide angle shots with a special aspect ratio that allows viewers to spend more time with the image and the specific visual story it tells. A horizontal pano showing a long stretch of a skyline, for example, invites viewers to…walk along that skyline and spend more time with the subject. Same goes for vertical panos, the “tall” images of skyscrapers, monuments, trees or the like that also invite viewers to spend more time with the subject.
So, how do we create panoramic images?
Smartphones. iPhones.
A simple way is to use our smartphones; the Photo iPhone app, for example, has a “Pano” function that allows us to take horizontal and vertical panoramas. For best results, it’s a good idea to hold the phone as steady as possible (using both hands does help) and then pan left-right or up-down. As always with photography, the more work we do to get the best in-camera images, the easier our work will be in post production…speaking of which, some post-production cropping or image straightening might be necessary to eliminate the dark edges that end up in the image. It can be done using a photo editing iPhone app.

Regular Photo Cameras
One can also use actual cameras (not phone cameras) with a wide or ultra-wide angle lens, if possible (best for photographing landscapes and cityscapes). Then, crop in post (production) to achieve a pano aspect ratio (for example, eliminate much of the sky that is negative space not essential for the purpose of the (pano) image).
Stitching Images Together
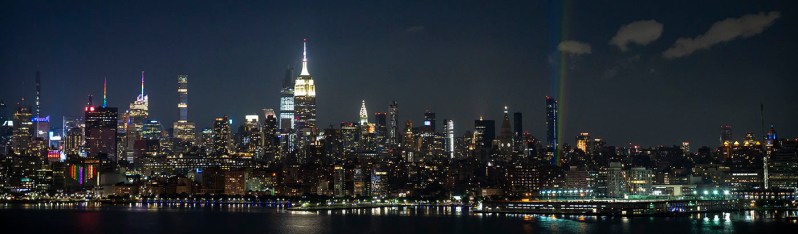
Another way to create panoramas is to use a camera (phone camera, if nothing else, but also point-and-shoot or, even better, DSLR or mirrorless) and capture a (pano) scene one image at a time, as you walk along (parallel to) that scene, for example, a city skyline or a landscape; then stitch the images together in post production (using Photoshop, for example) to create a panoramic image, a high resolution image and large-size image file that, in turn, allows for a very large photo prints.
This technique does take time and requires planning, and yields best results. So, if, for example, you want to capture a panoramic view of a skyline (to use the same example), bring your camera, tripod, and lots of patience.

If you photograph at sunrise or sunset be aware that the light changes pretty fast. Be aware of that, when it comes to setting the exposure for your images that would become a panoramic image.
Note: In general, try to maintain the same exposure, same focal length, camera level, and distance between camera and subject.
Make sure that the horizon line is aligned throughout the images. Place it at a third from the bottom or from the top, depending on what you photograph (if your final image is a sky- or cloudscape, landscape or cityscape), or middle of the frame if you go for symmetry/reflections in all images that will create the panoramic image. Again, that’s to minimize the post-production work.
Also, make sure that you photograph so that you allow some overlapping of the images; it will come in handy when working on your pano in post production.
Think “consistency” throughout the entire process. That is, make adjustments per each image, if necessary, so that the pano image (the image that will be stitched together) will look…real or as realistic as possible.
To stitch images in Photoshop, go to Photoshop – File (select images to be stitched together) – Photomerge (there are several options you can experiment with). Photoshop usually does a pretty good job.

A few things to watch for in the final panoramic image:
the horizon line in the pano image should be straight (unless you go for one of those drastically tilted images with horizon lines as diagonals, but that’s a story for another time);
the sky…should be the same hue of blue throughout the pano image (no patches of blue/teal blue or green, clear sky/overcast, etc….it’s either a clear day or an overcast day, right?)
too much overlapping or gaps between the stitched images
zoom in/out to check for details as well as the overall appearance
check the subject, and analyze the entire image frame, including along the edges and corners of the frame
take your time; edit and study the pano image then take a break from it; come back later and take another look

There’s much more to be said about creating panoramic images, of course. There is special equipment, gear that helps create 180- or 360-degree panoramas. Nowadays, there are also plenty of apps out there, too. Take your pick.
Panoramic images have a special role, feel, look. There are also certain subjects and stories that we most often associate with panoramic images. Some people think of panoramas as murals. Some use panoramic prints to decorate their homes or offices.
What do you think about panoramic images? How do you create them?… Feel free to share your thoughts.
As always, thanks for stopping by.


Leave a comment