My Two Cents on Image Retouching – Portraits
To retouch or not to retouch? That is the question. Or better ask ourselves, how much should we retouch a portrait?
We often encounter extremely retouched portraits where people don’t look like human beings anymore, but rather porcelain dolls. But there seems to be a new trend in town. That of publishing not retouched images of models. Or so we are told. Now, let’s be honest. Most people don’t look like models. So, where does this leave us, the rest of us–the regular people who don’t necessarily look like models and who want their pictures taken, and us, photographers, who end up taking that picture? How much should, we retouch, as photographers, as portrait photographers in particular?
I believe that somewhere between completely un-retouched images and extremely retouched images there is a happy medium. As photographers who also retouch, at least do some basic retouching, of our images, we need to find that sweet spot that works for us and for our clients.
Personally, I do my own retouching, mostly because I consider it as part of my creative process that, ultimately, helps me create the image, the look I’m after. Working with a makeup artist and hair stylist, especially when shooting editorials and ad campaigns, makes the retouching process and my life much easier.

When it’s not possible to have a makeup artist or hair stylist, I tell subjects to do their own makeup or bring what they need to the photo shoot. I’m terrible at applying my own makeup in real life and was thrilled when I figured out how to do it in Photoshop. Also, while I photograph mainly men, I don’t (and they usually don’t) worry much about makeup, unless I shoot for a special project that requires it.
Here are a few images:


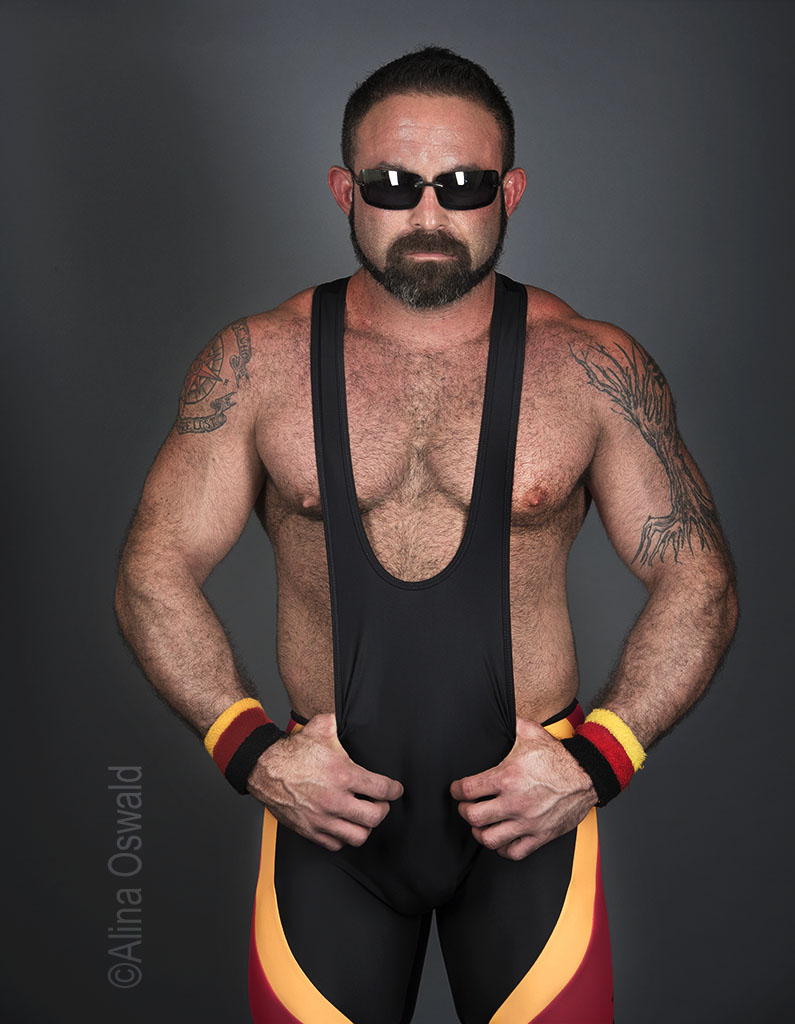
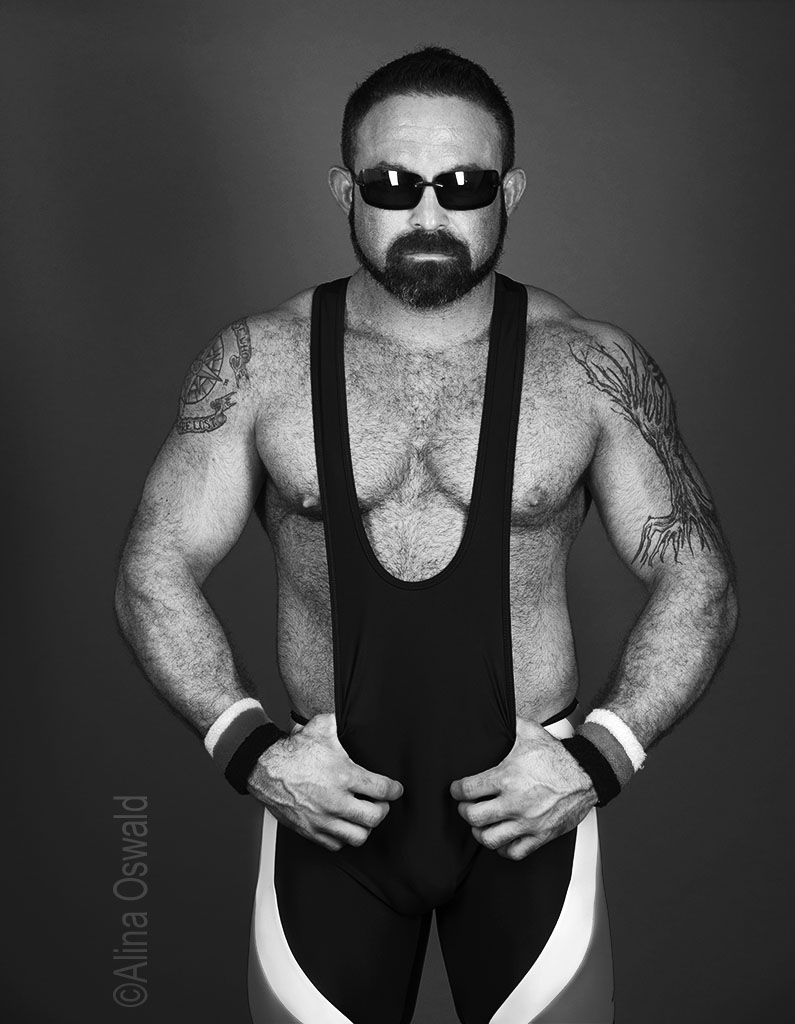
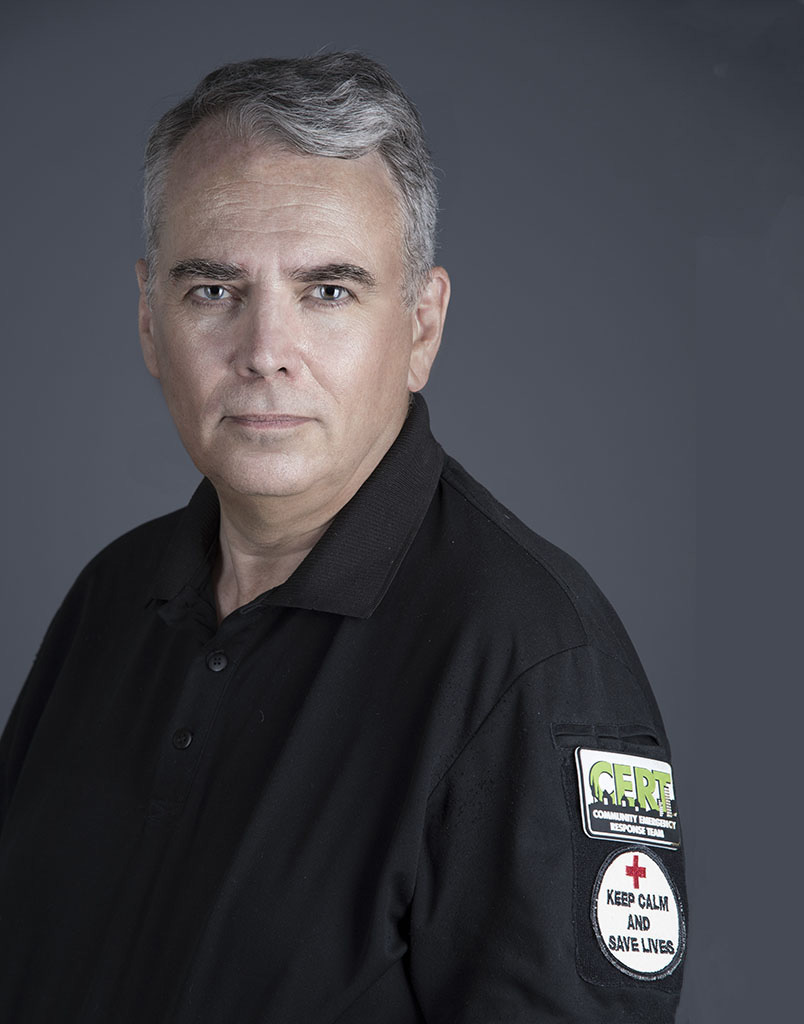
Oftentimes I get to photograph subjects that need very little or no retouching at all. But even with these subjects, I still glance at their image, make sure that, retouching or not, they look good or at least decent, before submitting to the client.
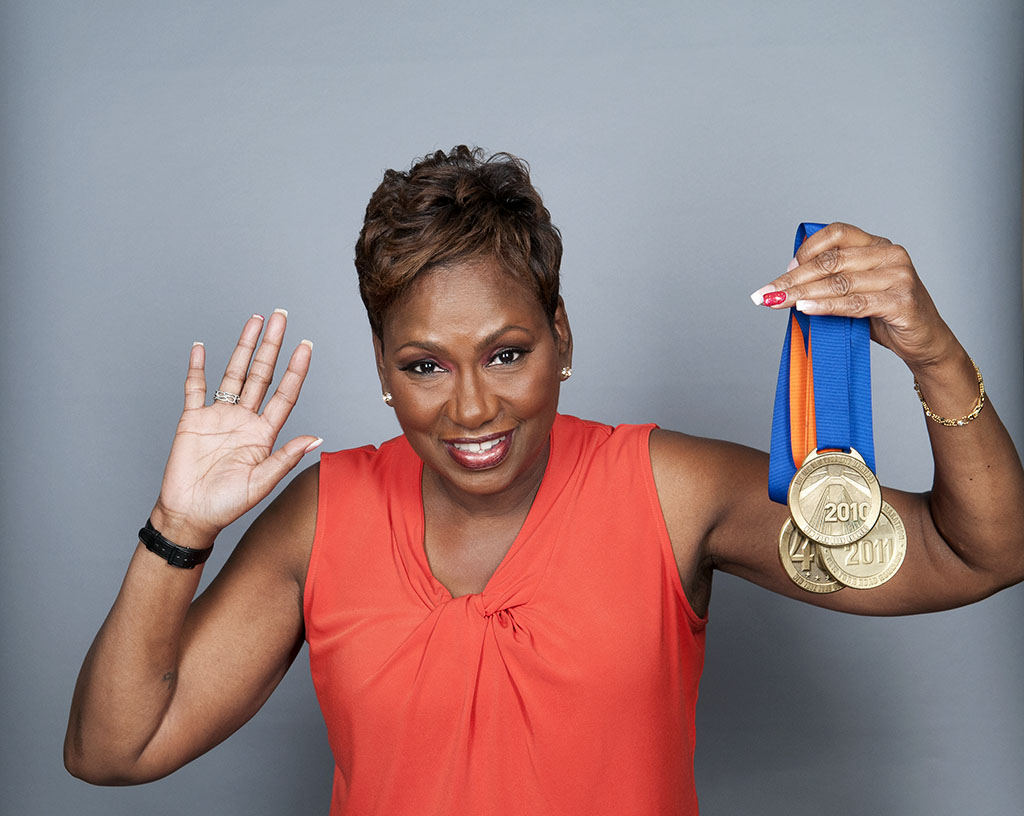
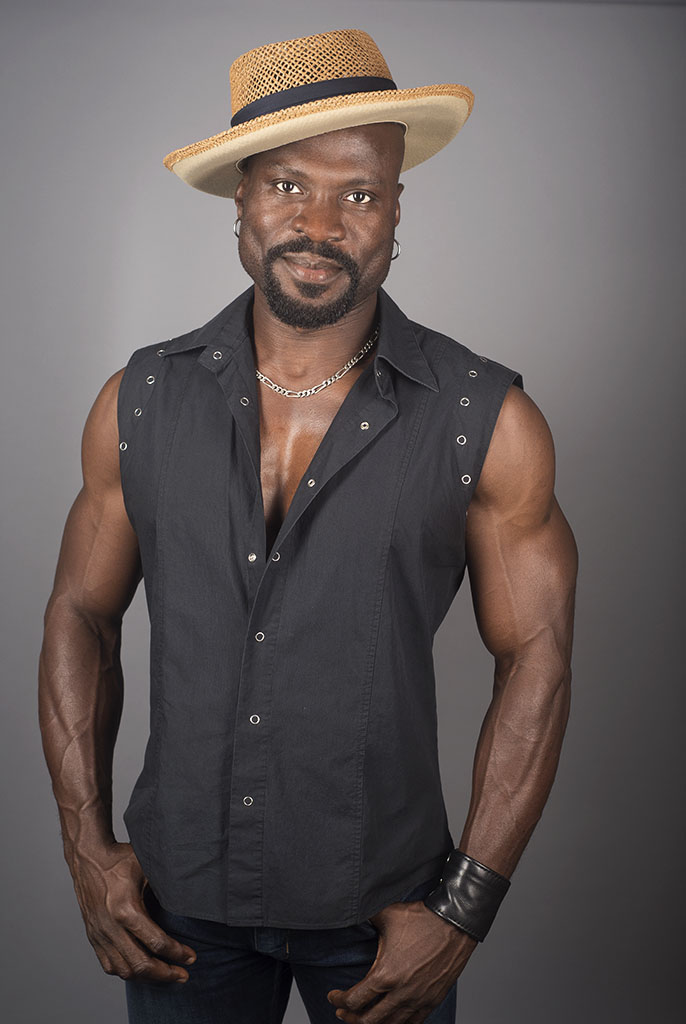
Here are a few examples of unretouched image I’ve shot on location (actually in the MNN studio) and in my home studio:
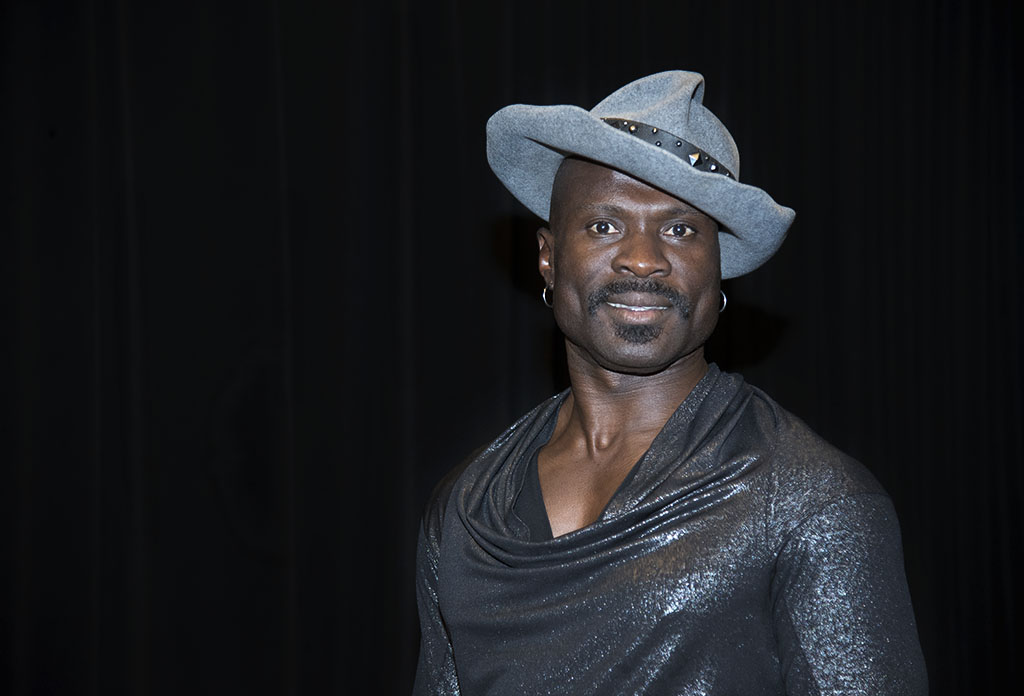
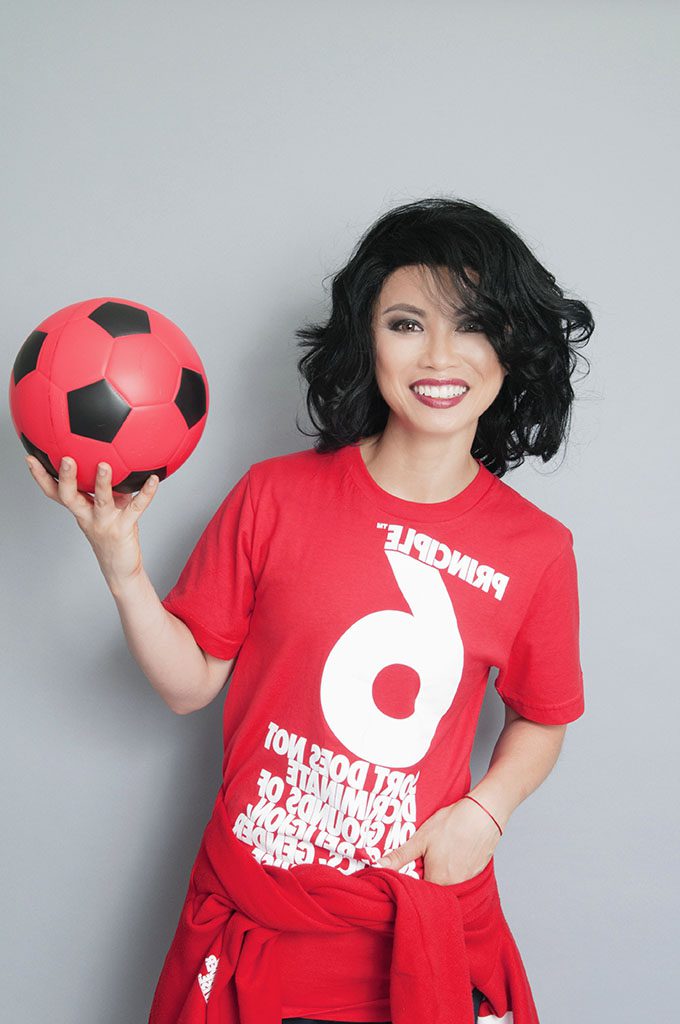
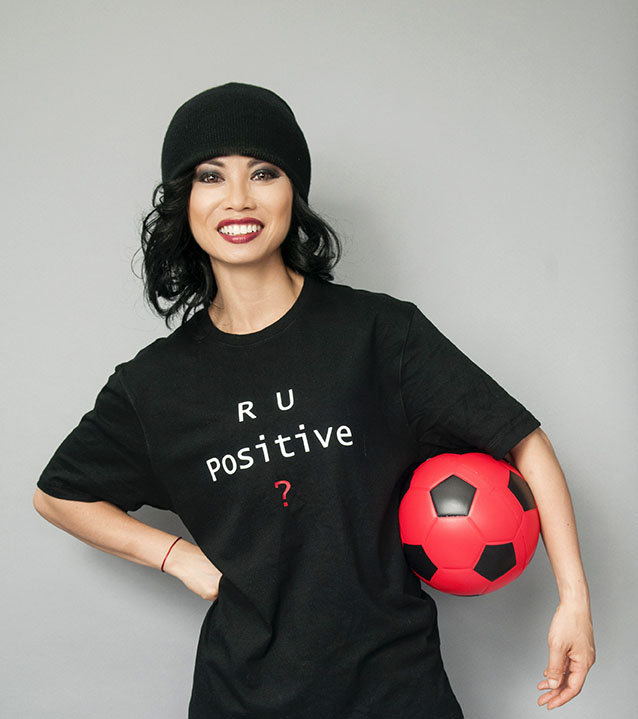
Also, here are a few images of performing artist PepC taken at MNN:

Sometimes converting to black-and-white not only creates a different look but also helps conceal facial lines.
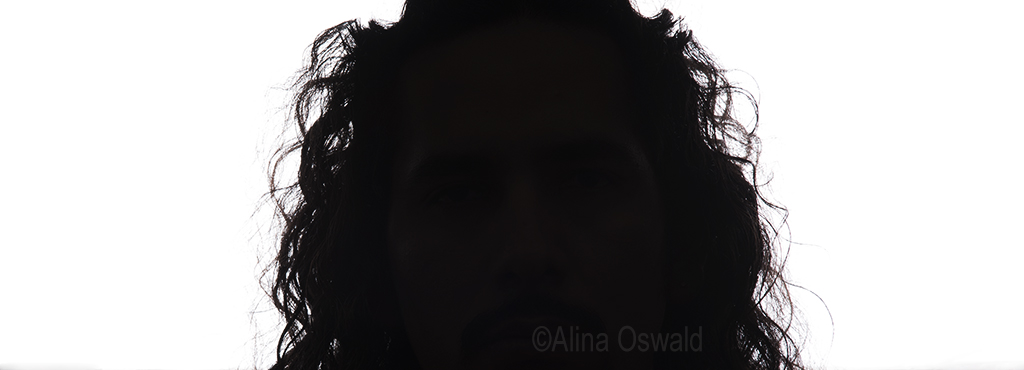
Here’s an example of a model who needs little or no retouching, in color and black-and-white:
Here are a few pictures of yours truly in color and black-and-white taken with and edited in iPhone 7 Plus:


When I shoot portraits, I always include some basic retouching. Call it a look-through the image to make sure it looks great–skin tones, facial lines, etc.
Every once in a while I need to spend more time on retouching, because no matter how much we pose the subject to hide a particular imperfection, so to speak, sometimes retouching is needed.
My two cents on retouching, basic or otherwise:
– retouching takes time and patience; so don’t rush through it, take your time
– start with the cleanest not retouched, original image possible, aka try to get it right or as close to right in camera
– start by analyzing the image, zoom in to make sure that you see all the details; you can take (mental) notes, consider what and how much to retouch as you inspect the image
– keep in mind the final goal of your image–based on your or your client’s vision; keep in mind what/who you photograph (and retouch) for: a publication, an ad campaign, a bride or a happening on the street (there should be no image manipulation if shooting news, events and the like)
– take your time analyzing the entire face, including hair, neck, hands and clothes if they are visible; you might retouch the face to look years younger, but if you don’t retouch the hands, too, they can actually give away the subject’s real age
– don’t go overboard when retouching; I believe that good retouching brightens the subject more than takes away years; you want the retouched version of the portrait to resemble the actual person that you photographed, especially when shooting editorials, portraits/headshot; no matter how much a person would like to look twenty years younger and twenty pounds lighter, that kind of retouching would create a brand new person altogether or a much younger version that’s in front of your lens at that moment in time; it would offer some visual version of traveling back in time
– good retouching, like good editing (in case of writing) should not be noticeable; should not interfere with the image or work of any kind, but rather add to that work. A great read on image retouching and restoration is Adobe Photoshop Restoration and Retouching, by Katrin Eismann, now in its fourth edition. (I have an older edition of the book, but it’s still a fantastic source of information whenever needed)
– speaking of Adobe Photoshop, I do use Photoshop; sometimes I use PortraitPro, too, whenever needed; also, I finally downloaded a few photo editing apps for the images I snap with my iPhone; whatever the case, the idea is not to overdo it, the airbrushing, the retouching; rather experiment with retouching; learn what it can do for you, for your image; learn to control it and use it, retouching that is, as a tool to enhance your work; after all, as a wonderful photographer and mentor once said, the camera gear (and the photo editing software, some might add) they are all tools you can use to bring your vision to life and share it with the world
– consider retouching not (only) as a way of correcting and concealing imperfections, but as a tool that, together with other tools, helps you achieve the look and feel that you’re after, that helps you create the image you first saw with your mind’s eyes
– when retouching work for editorials, ad campaigns or clients, in general, retouch considering not only the final image that you have in mind, but mostly the image that the client has in mind
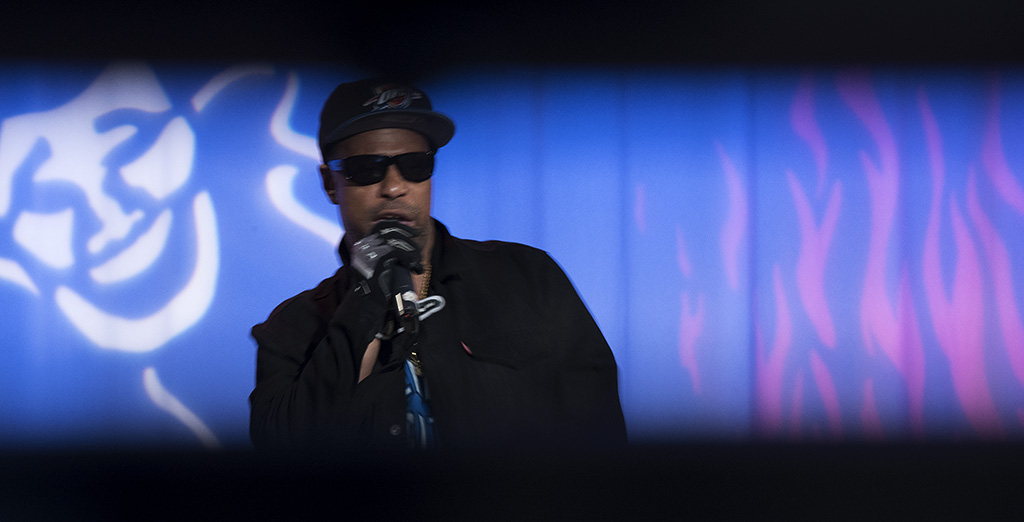
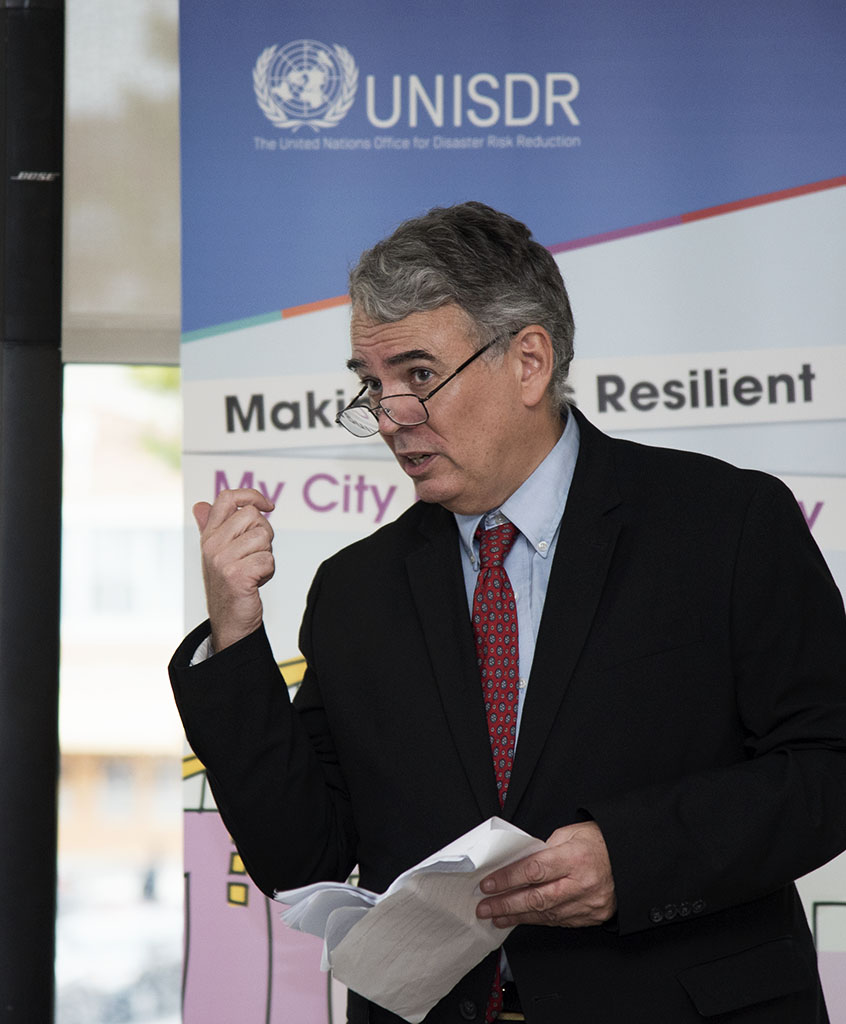
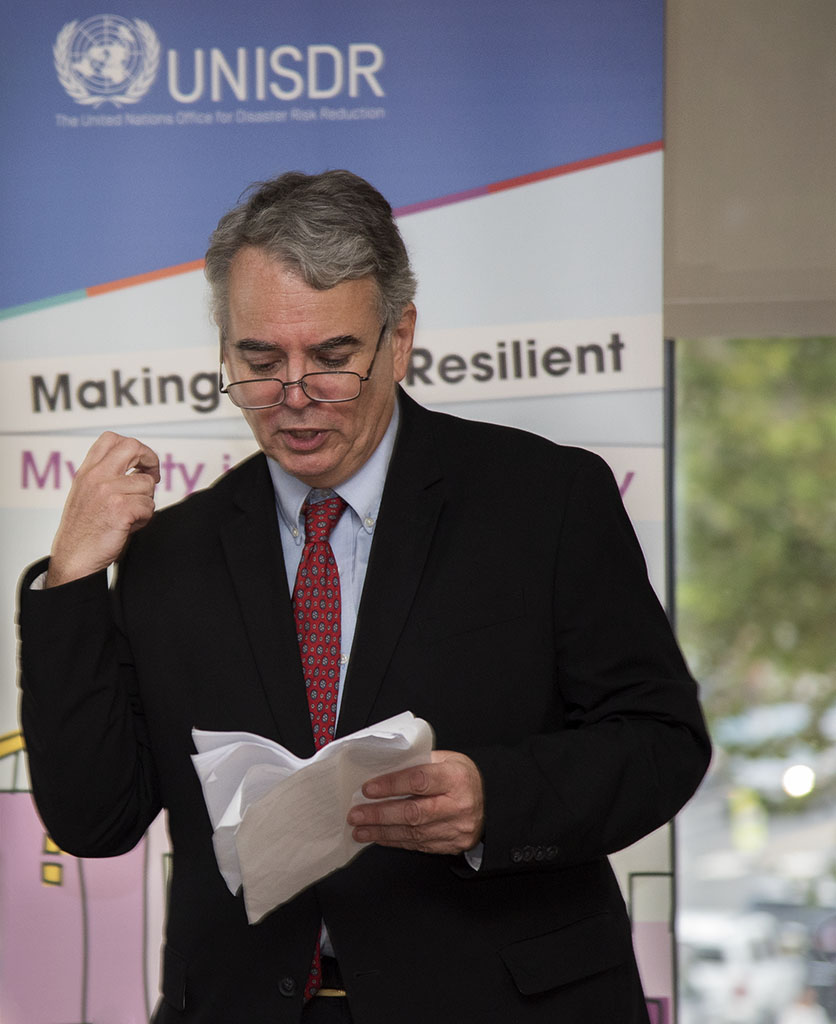
Here’s an example: Photographing Simon Pereira Shorey of Resilient JC–first two images were taken during a keynote speech at the opening night of Resilient JC nonprofit, while the third image is a portrait for Resilient JC ad campaign, also used (cropped as a headshot) on social media. The first two images are not retouched, while the last one is.
– note: some of the above thoughts on retouching also apply to image restoration, in particular when it comes to restoring an image with a certain goal or purpose in mind, maybe I’ll share a few thoughts on image restoration in an upcoming post
– as a rule of thumb, when working on an image–from photographing to editing and retouching–treat the subject or the picture of the subject as you’d like your picture to be treated; ask yourself if you’d like to look as your subject looks like in the final draft, so to speak, of your image; (come to think of it, this kind also applies to interviewing people and writing their stories based on those interviews)
– also, as with editing text, articles for example, it’s often a good idea to allow a little bit of time–if possible a few hours, maybe a day–between the actual photo shoot and the photo editing and retouching process, your post production work that is; that “sleep on it” kind of thinking allows you to come back and look at your work with fresh eyes.
As always, thanks for stopping by,


Leave a comment